I live in a Cornish Unit house (Type 1) and have recently had a heat pump installed to replace an ageing gas boiler. Having lived in the house for several years, I was well aware of significant thermal issues, particularly upstairs, due to the house being very cold in the winter and very hot in the summer. Temperature changes in the house were noticable with cold returning quickly after the heating being on. A non-invasive survey of the building last winter showed up various minor issues but didn’t pinpoint a particular issue. Further investigation into the upstairs walls revealed there to be virtually no insulation, only ~50 mm of glass wool insulation hanging behind the plasterboard, as well as direct routes into the floor cavity (along the joists) from the eaves. The effective result is a plasterboard tent upstairs with cold air circulating just behind the walls, and to an extent the floor/ceiling. In contrast, the ground floor walls are a more modern cavity construction from them being replaced in the 1980s, and they have, at some point subsequently, been filled with polystyrene insulation beads.
Given that the upper part of the house is a timber construction, the walls have voids between the timbers that new insulation can be fitted into (directly replacing the glass wool). This seemed like a great opportunity given that it would be much more difficult to add significant insulation were the walls a typical masonry construction, since insulation could only be added externally (expensive) or internally (limited depth). Insulation is often added to Cornish Unit houses when they are retiled since all of the timbers are exposed. However, in my case since the roof is fine, installing the insulation from internal access is simpler and much cheaper, albeit a more messy job. The detail below shows the planned modification: adding 80 mm of PIR insulation board between the joists, and 25 mm insulated plasterboard on top with a sandwiched breathable vapour membrane, providing 105 mm of insulation and an expected U value of 0.25 W/m$^2$K, in line with the new Part L Building Regulations. Note that a short section of insulation is added at the floor level to make the insulation continuous from the brick wall cavity up to the loft.
The full description as submitted to Building Control is as follows. They subsequently inspected and signed off the work.
Upgrading external wall insulation within timber framed wall at first floor level, which forms lower section of tiled mansard roof on a Cornish Unit Type 1 house. Hanging tiles with breather membrane to remain as existing. Replacing existing 80mm mineral wool insulation with 80mm rigid PIR insulation board between studs within the timber frame. Adding a vapour control layer and dry lining the internal face with 37.5mm insulated plasterboard, plaster and finish.
Proposed wall build up:
- Roof tiles hanging (to remain as existing).
- Breather membrane (to remain as existing).
- Ventilated cavity (30mm at high level - 335mm at low level).
- 80mm PIR insulation board between studs (Celotex GA4000 80mm).
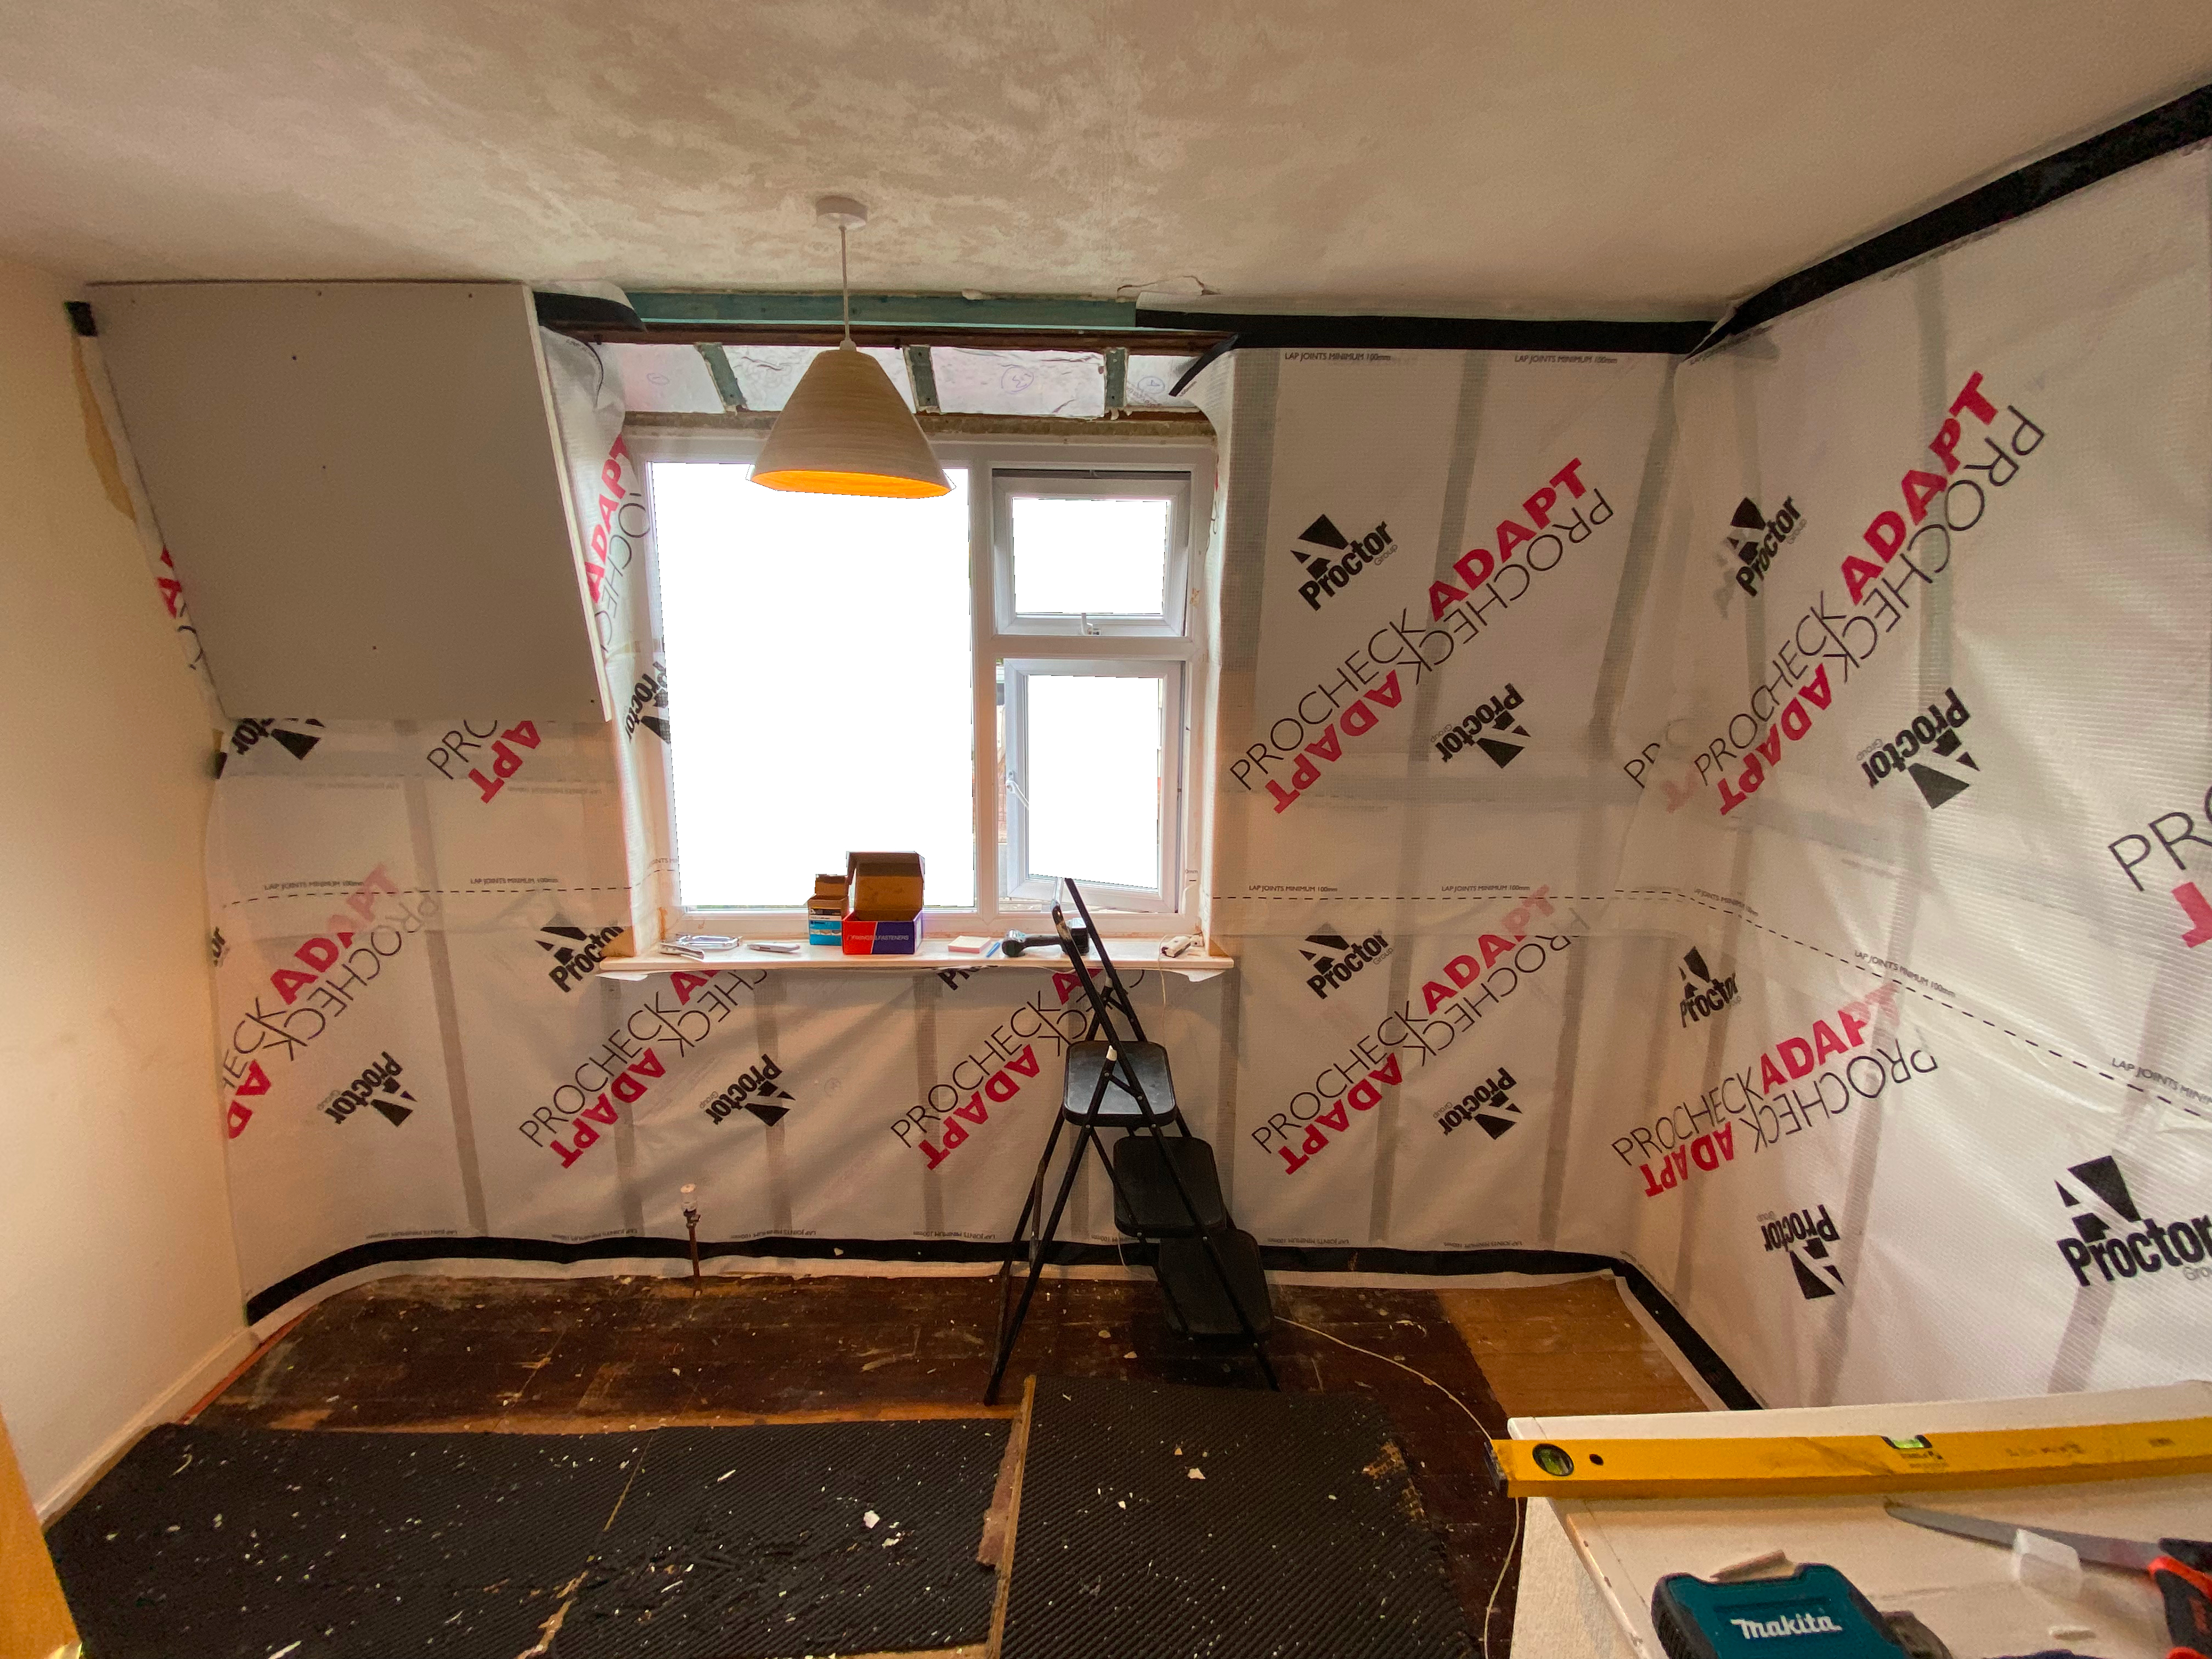
- Combined vapour control & air tightness layer, taped (Procheck Adapt VCL with integral tape).
- 37.5mm insulated plasterboard (Celotex PL4025 25 + 12.5mm).
- Internal finish (plaster and paint).
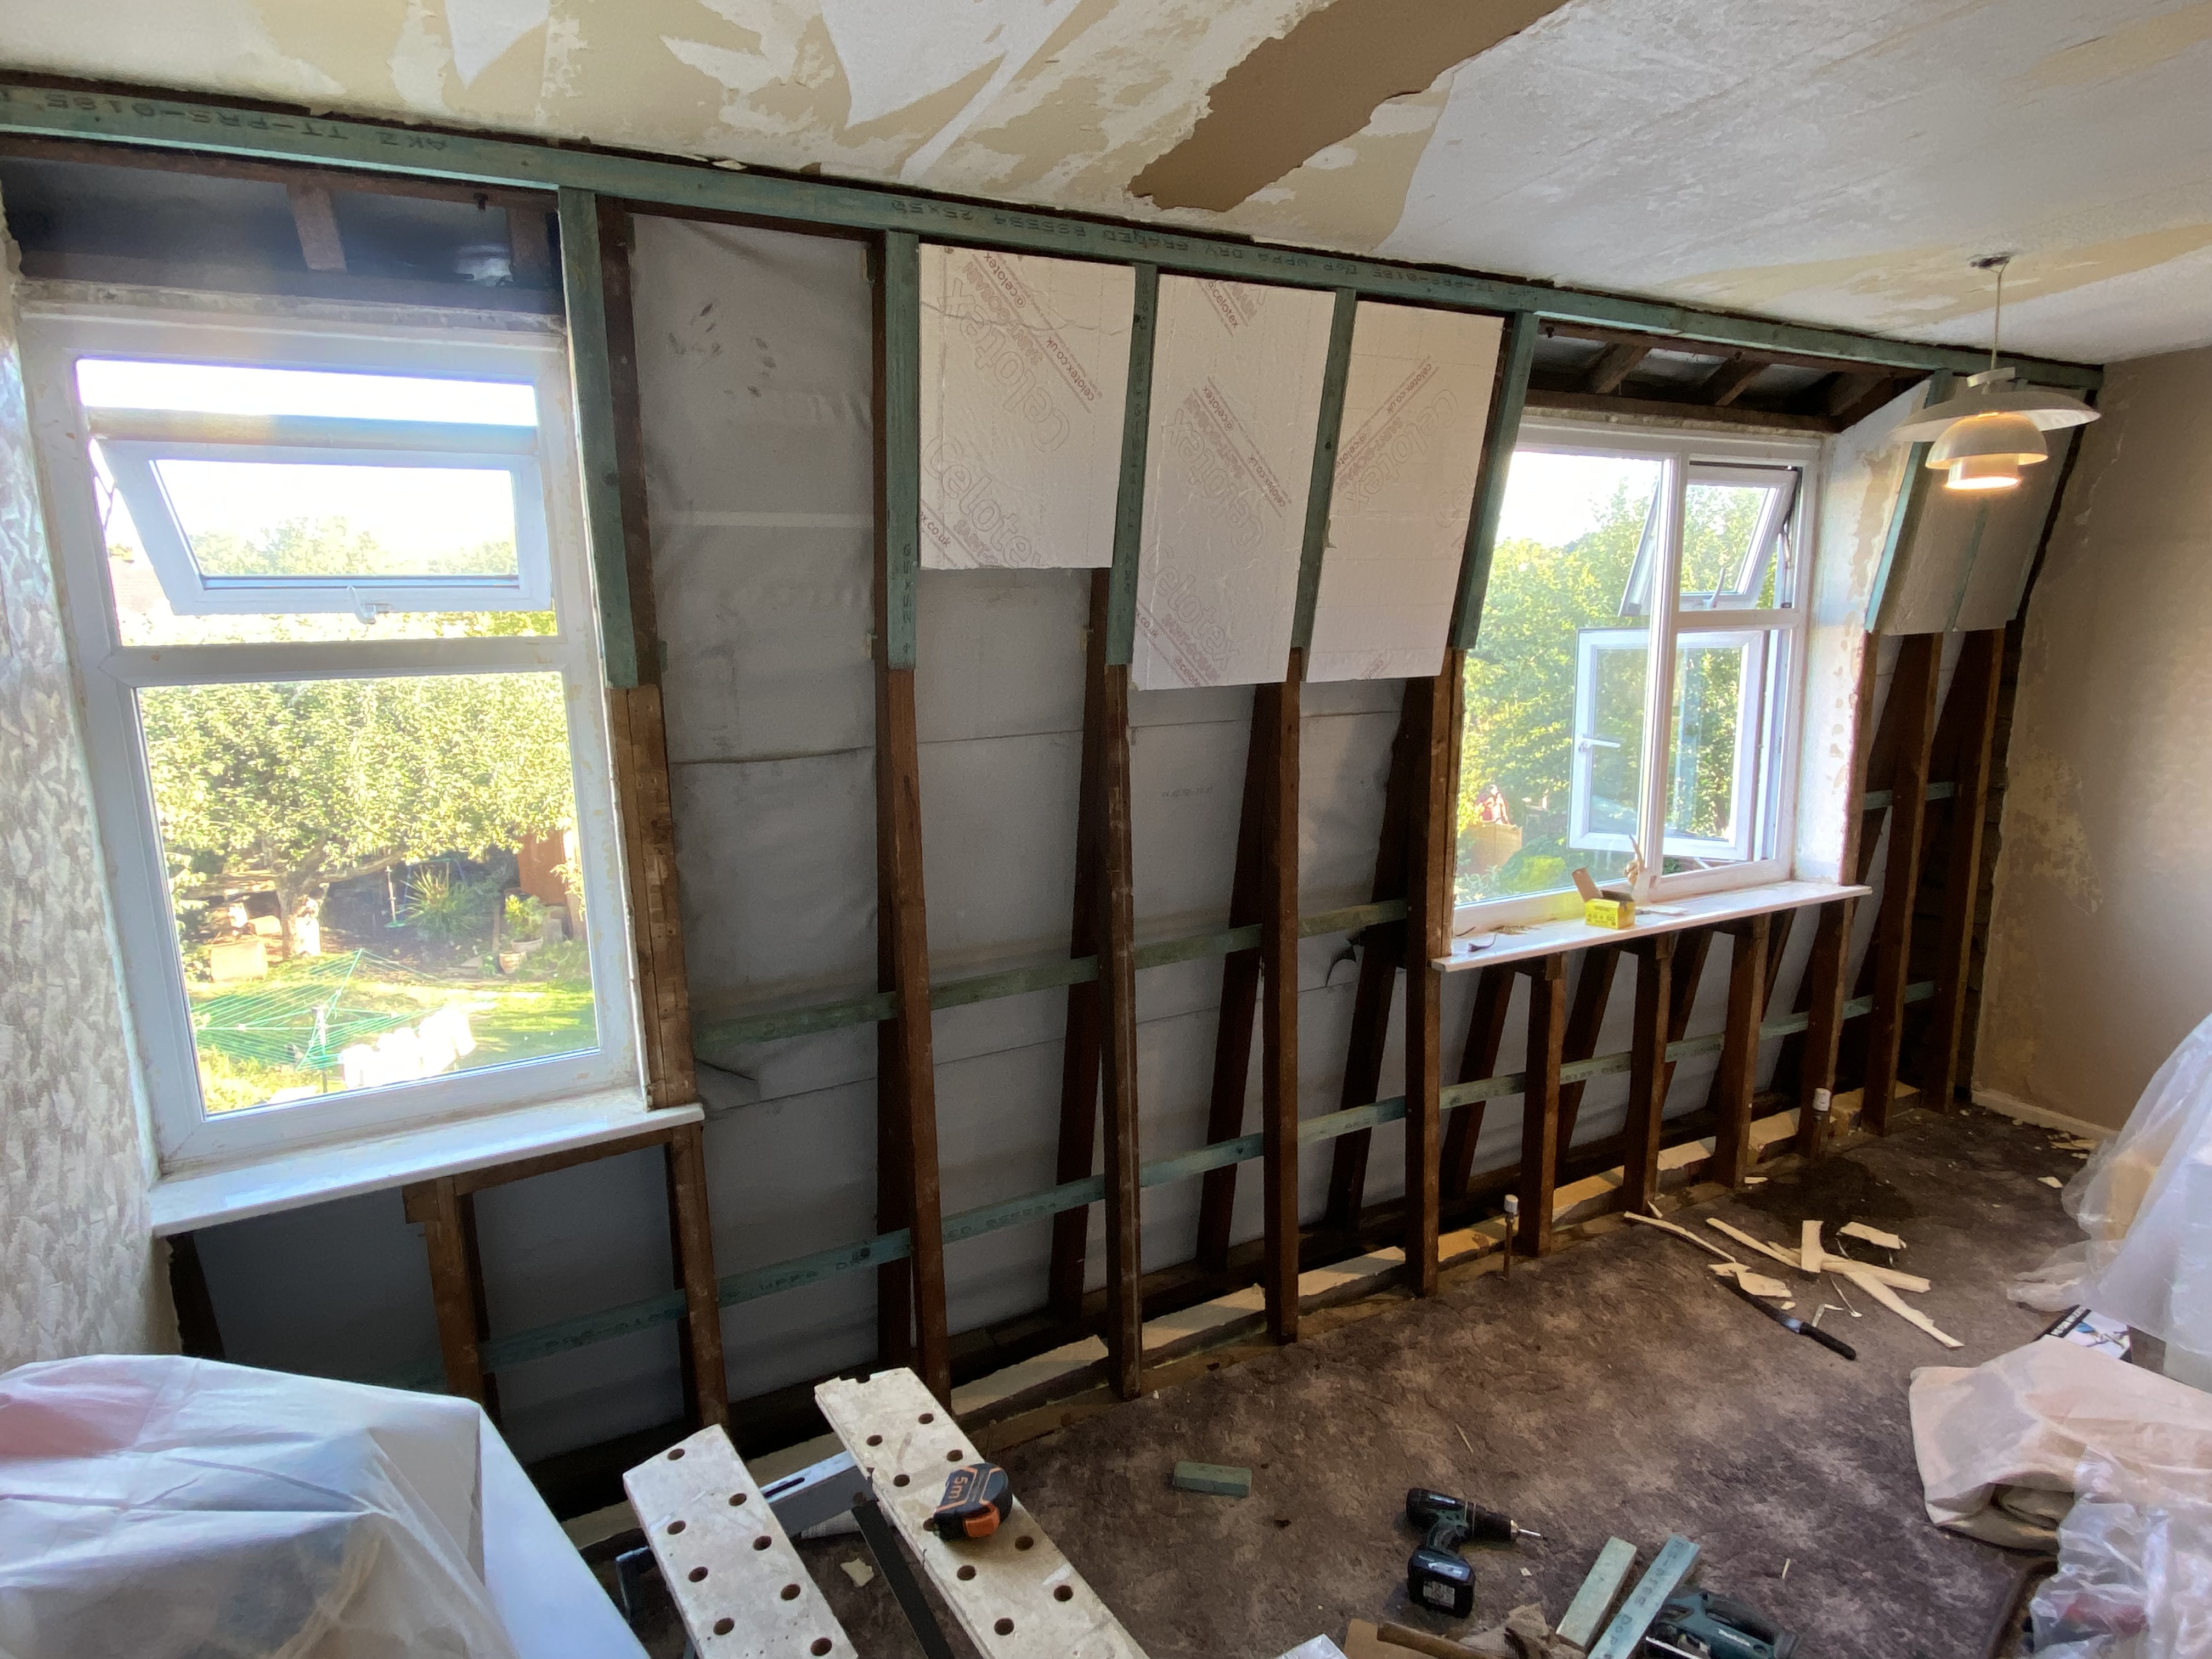
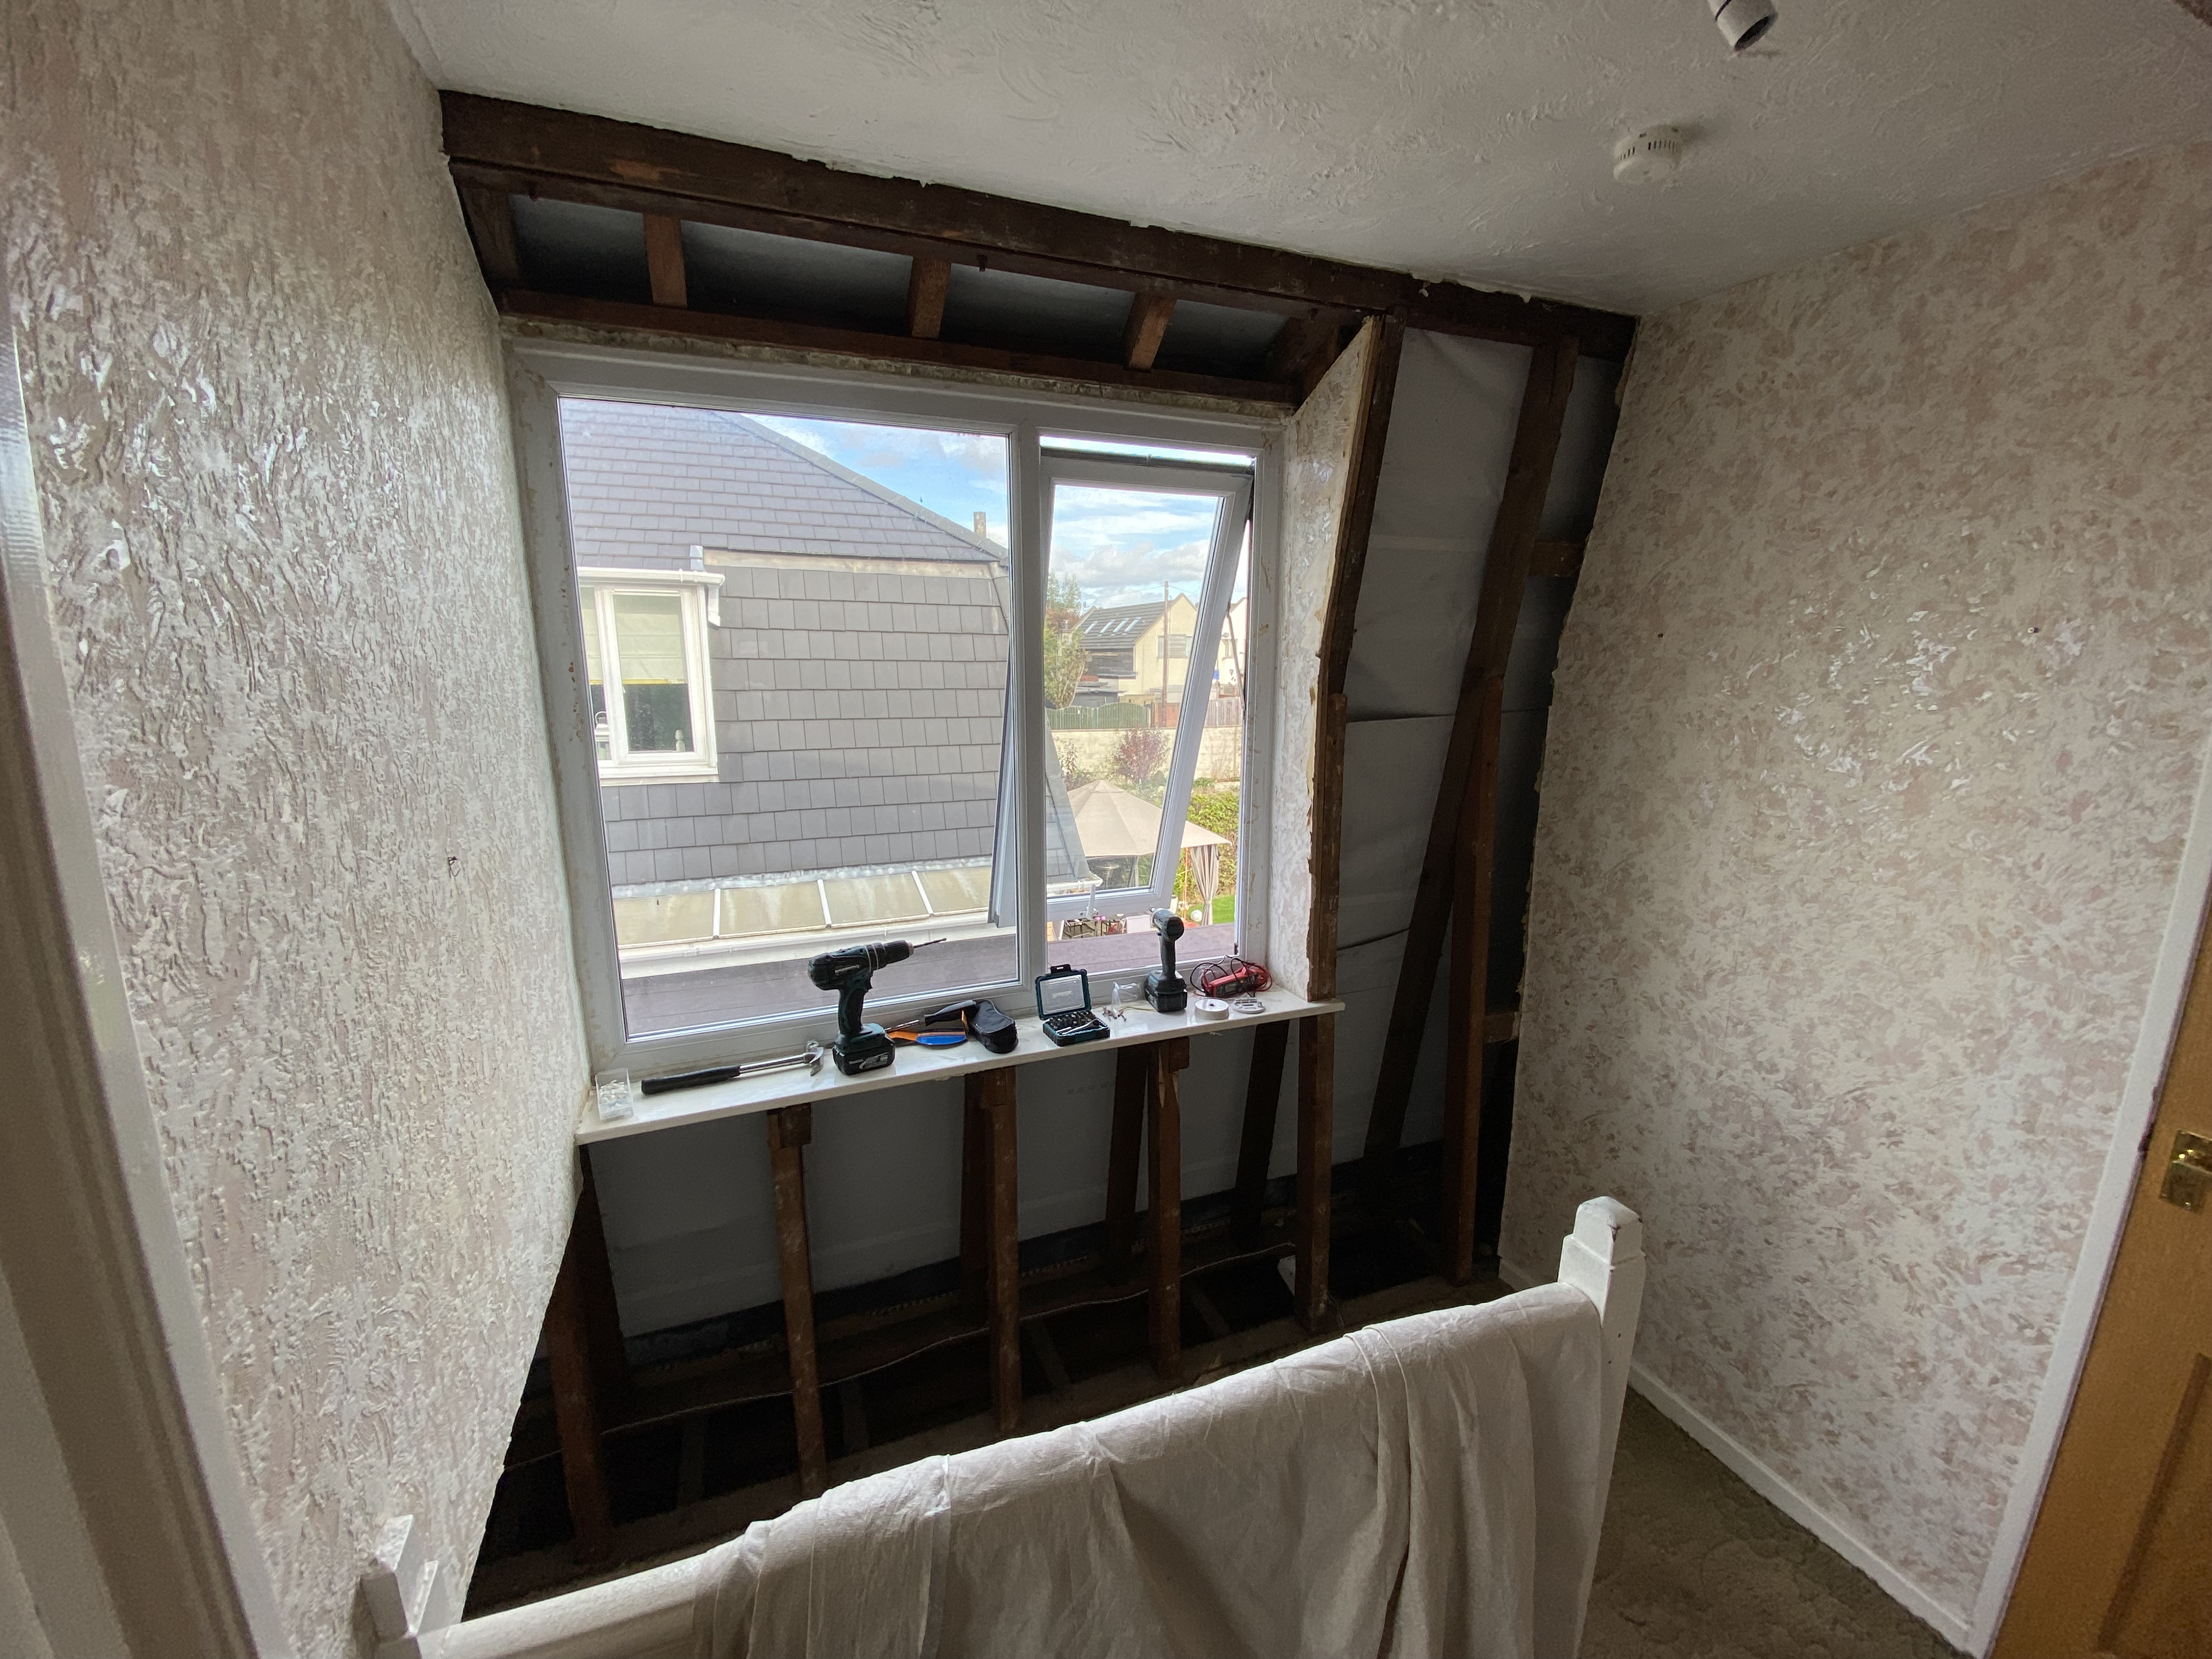
Method of installation: Renovation to be completed from inside the property by removing plasterboard and existing mineral wool insulation internally to expose the frame. Mineral wool insulation to be replaced by 80mm PIR insulation boards between timber studs. Breather membrane and roof tiles to remain as existing. Timber battens to be installed at high level to form a 30mm ventilated cavity. Continuous vapour control and air tightness layer to be added on the internal face of the PIR insulation board and taped. 37.5mm layer of insulated plasterboard to be installed onto the VCL. Plaster and paint to finish.
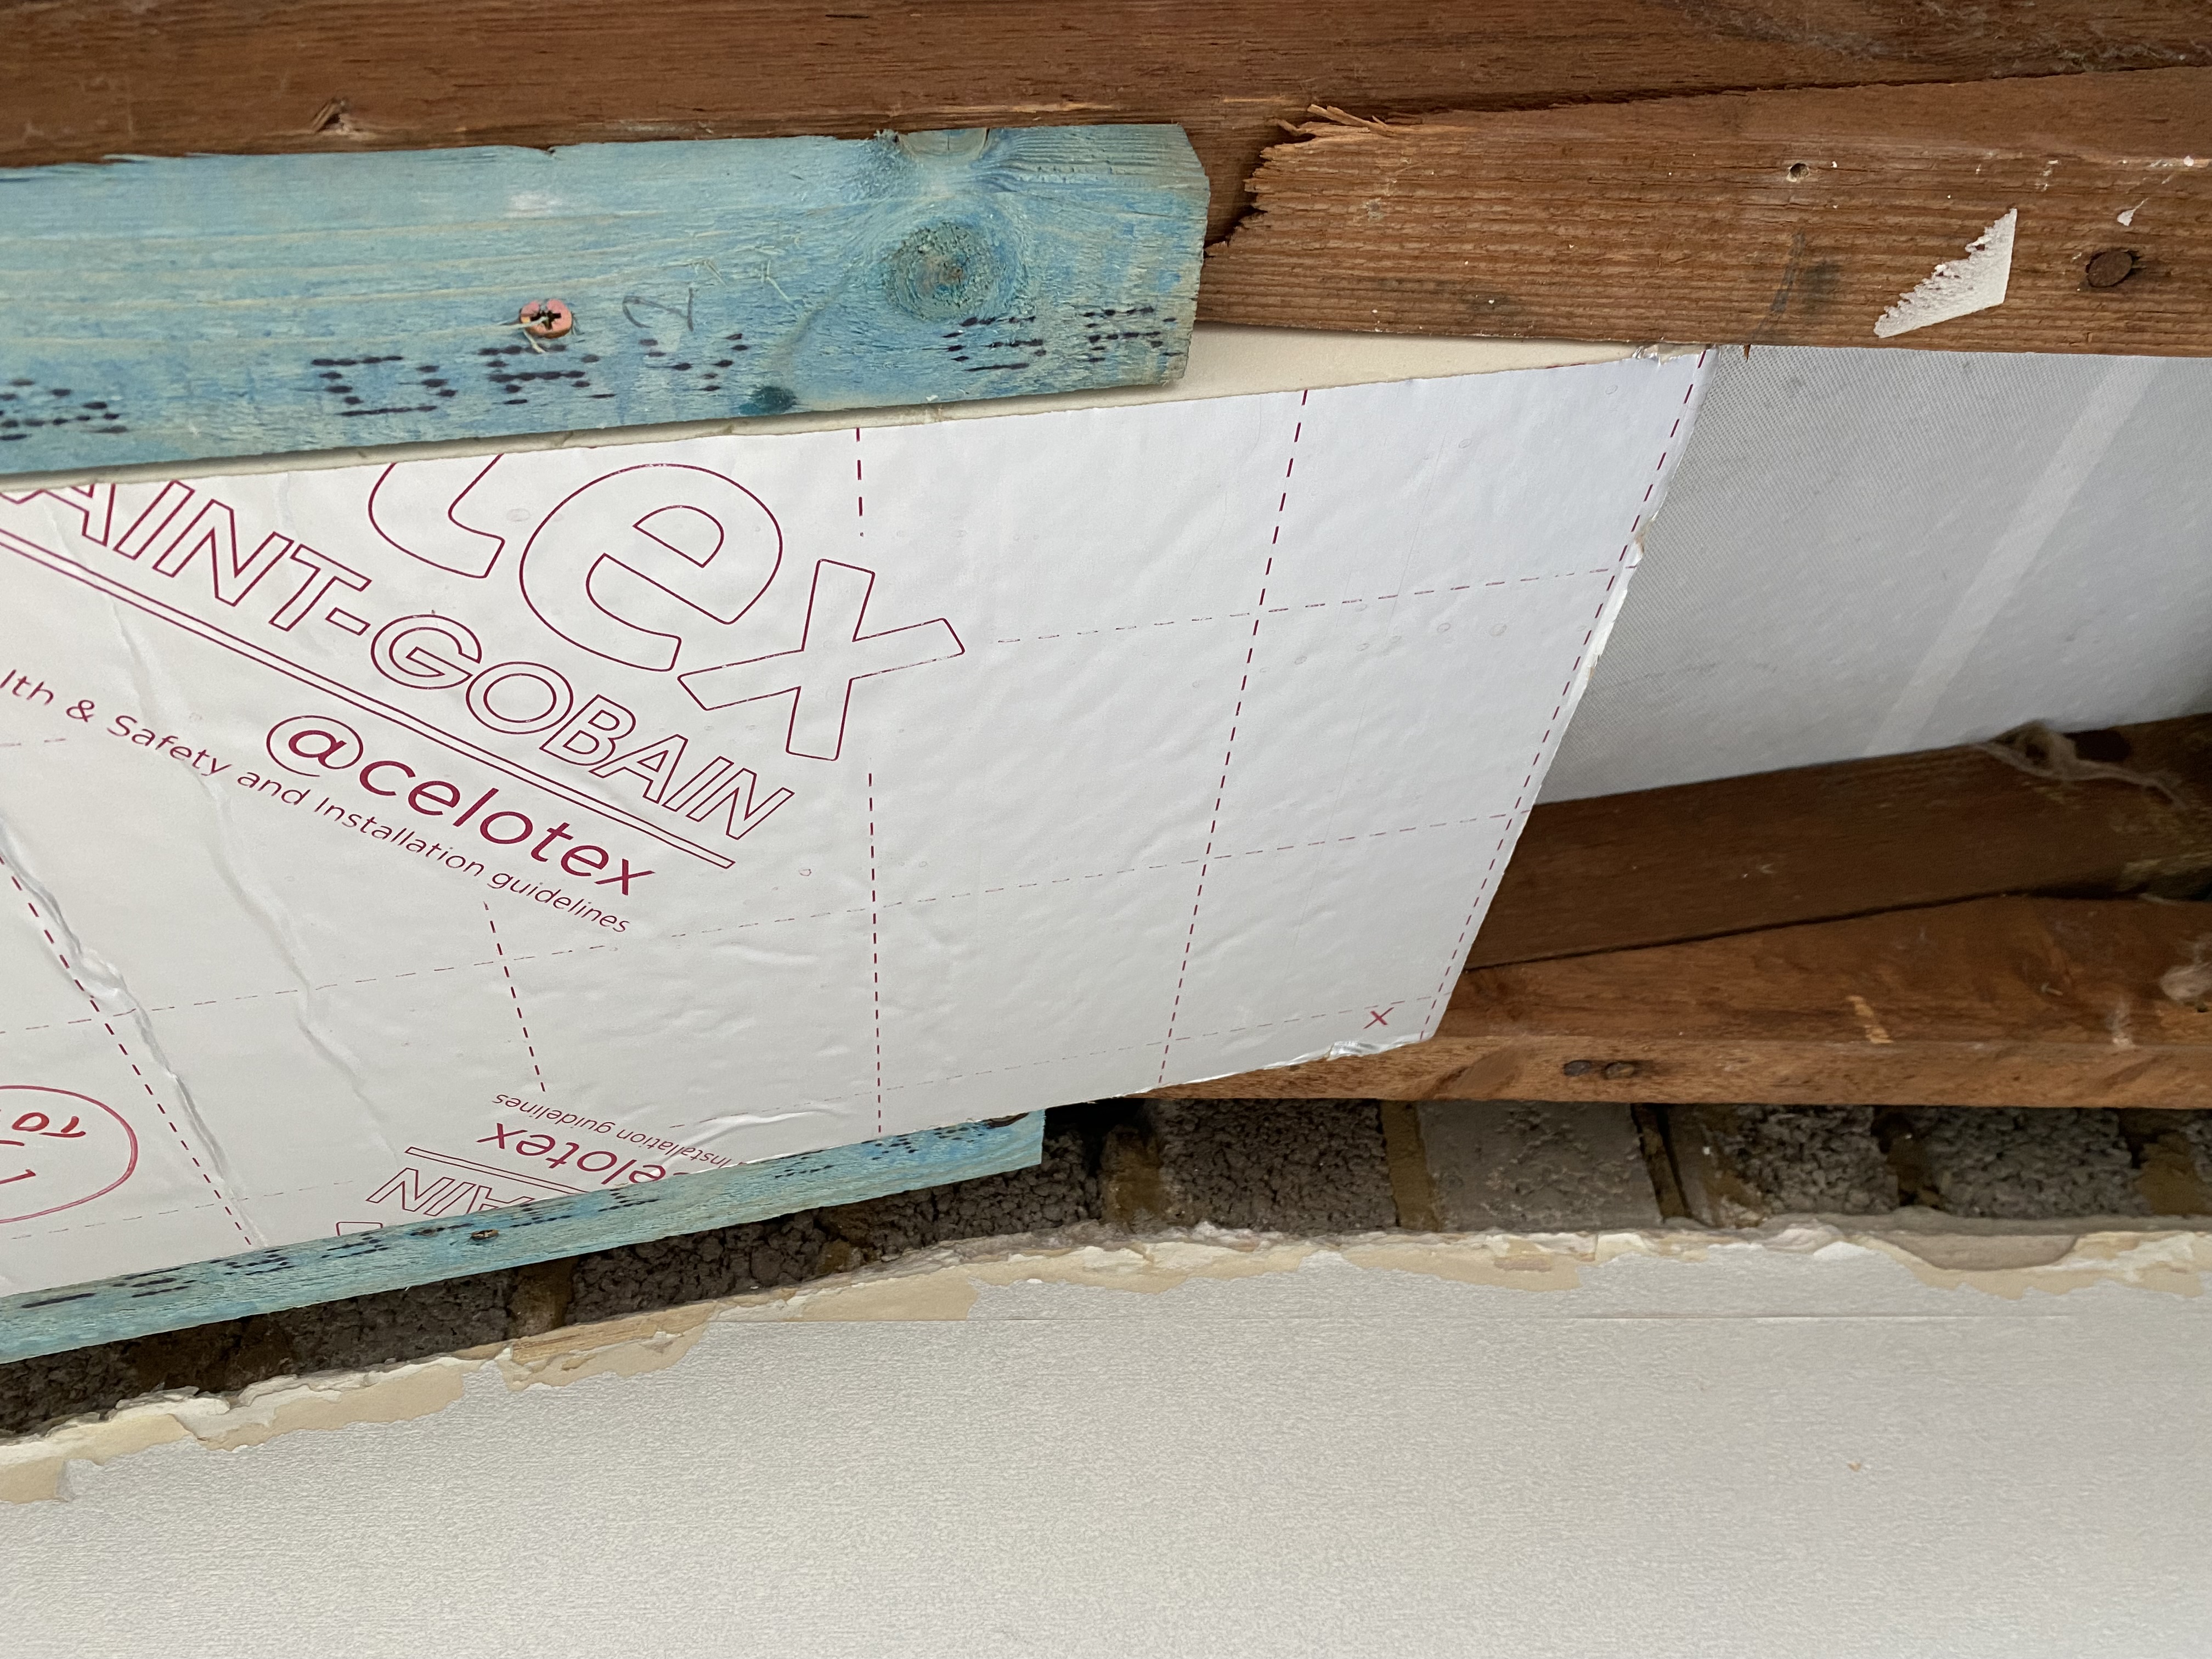
Notes: Insulation at lower eaves to be made continuous with existing cavity wall bead insulation to ground floor masonry wall. Similarly, insulation to be made continuous at ceiling junction with existing mineral wool insulation between ceiling joists in roof void, where possible. Estimated U-value of proposed build-up = 0.25 W/m$^2$K (source: Saint Gobain UK U-value calculator).
I investigated alternatives to PIR board, such as insulation board constructed from natural fibres, but these generally seemed twice as expensive per square metre and offered approximately half the U value. Given that wall depth was critical, these weren’t good solutions.


Bedroom 1
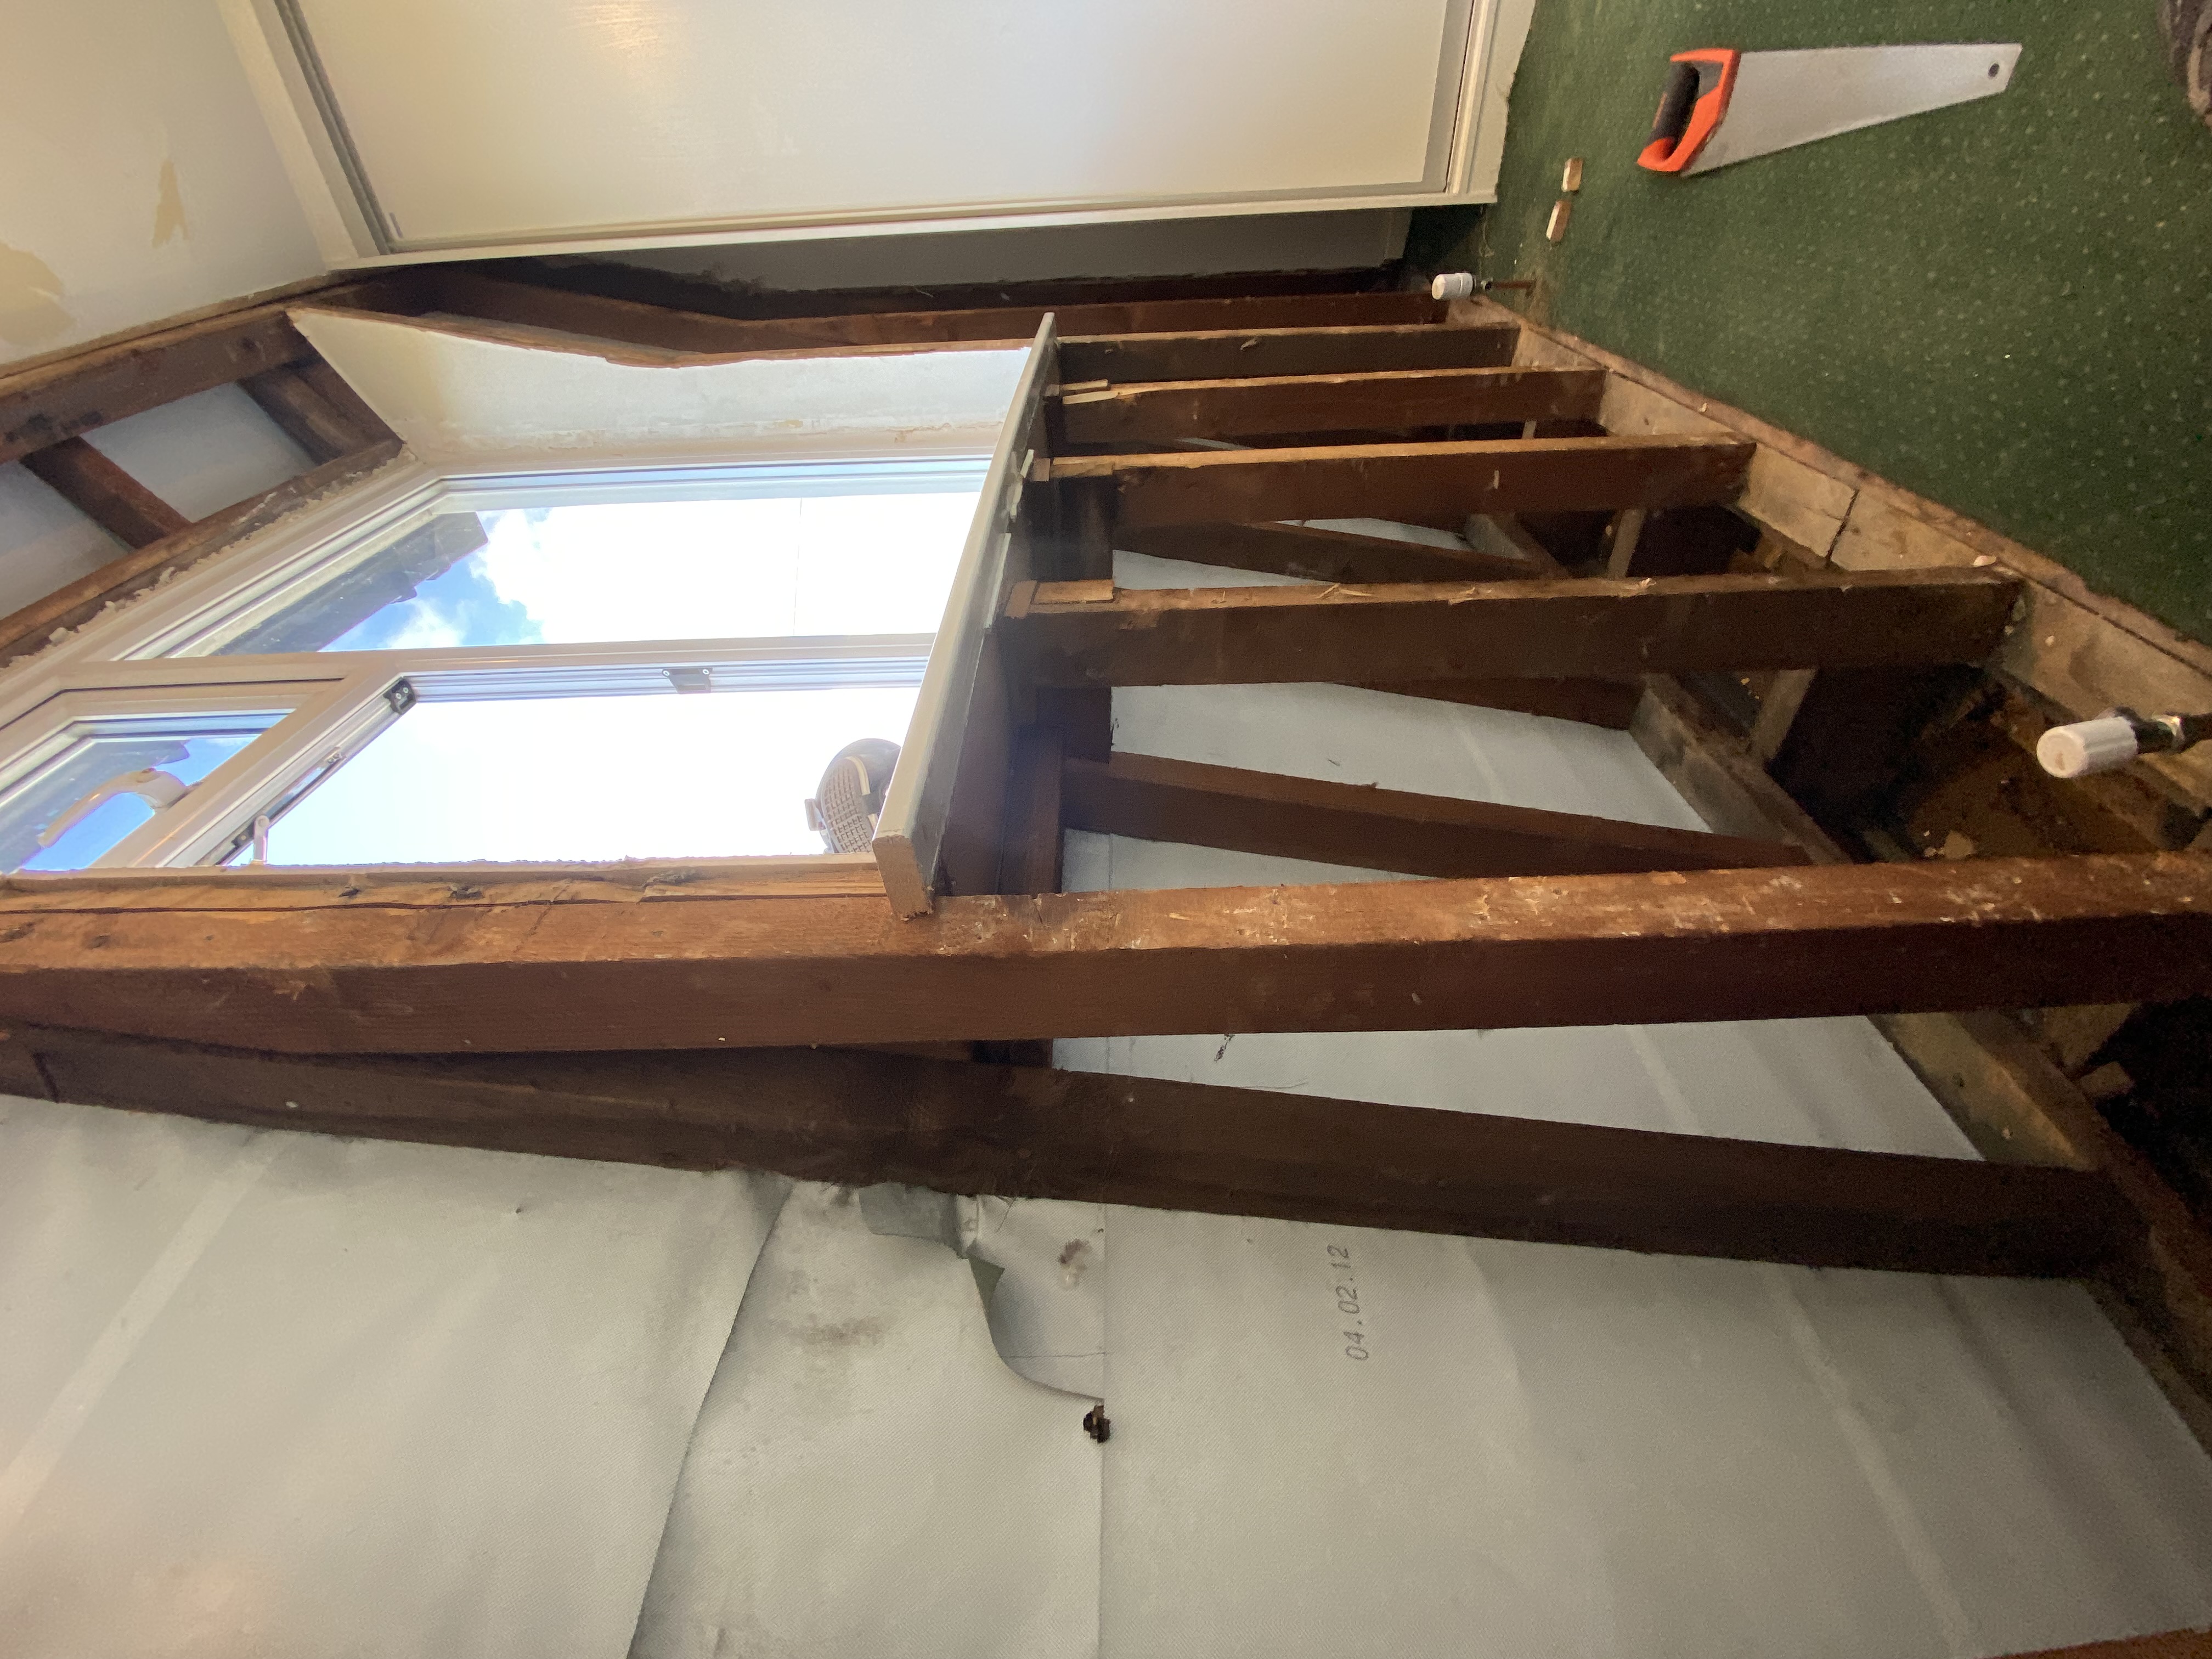
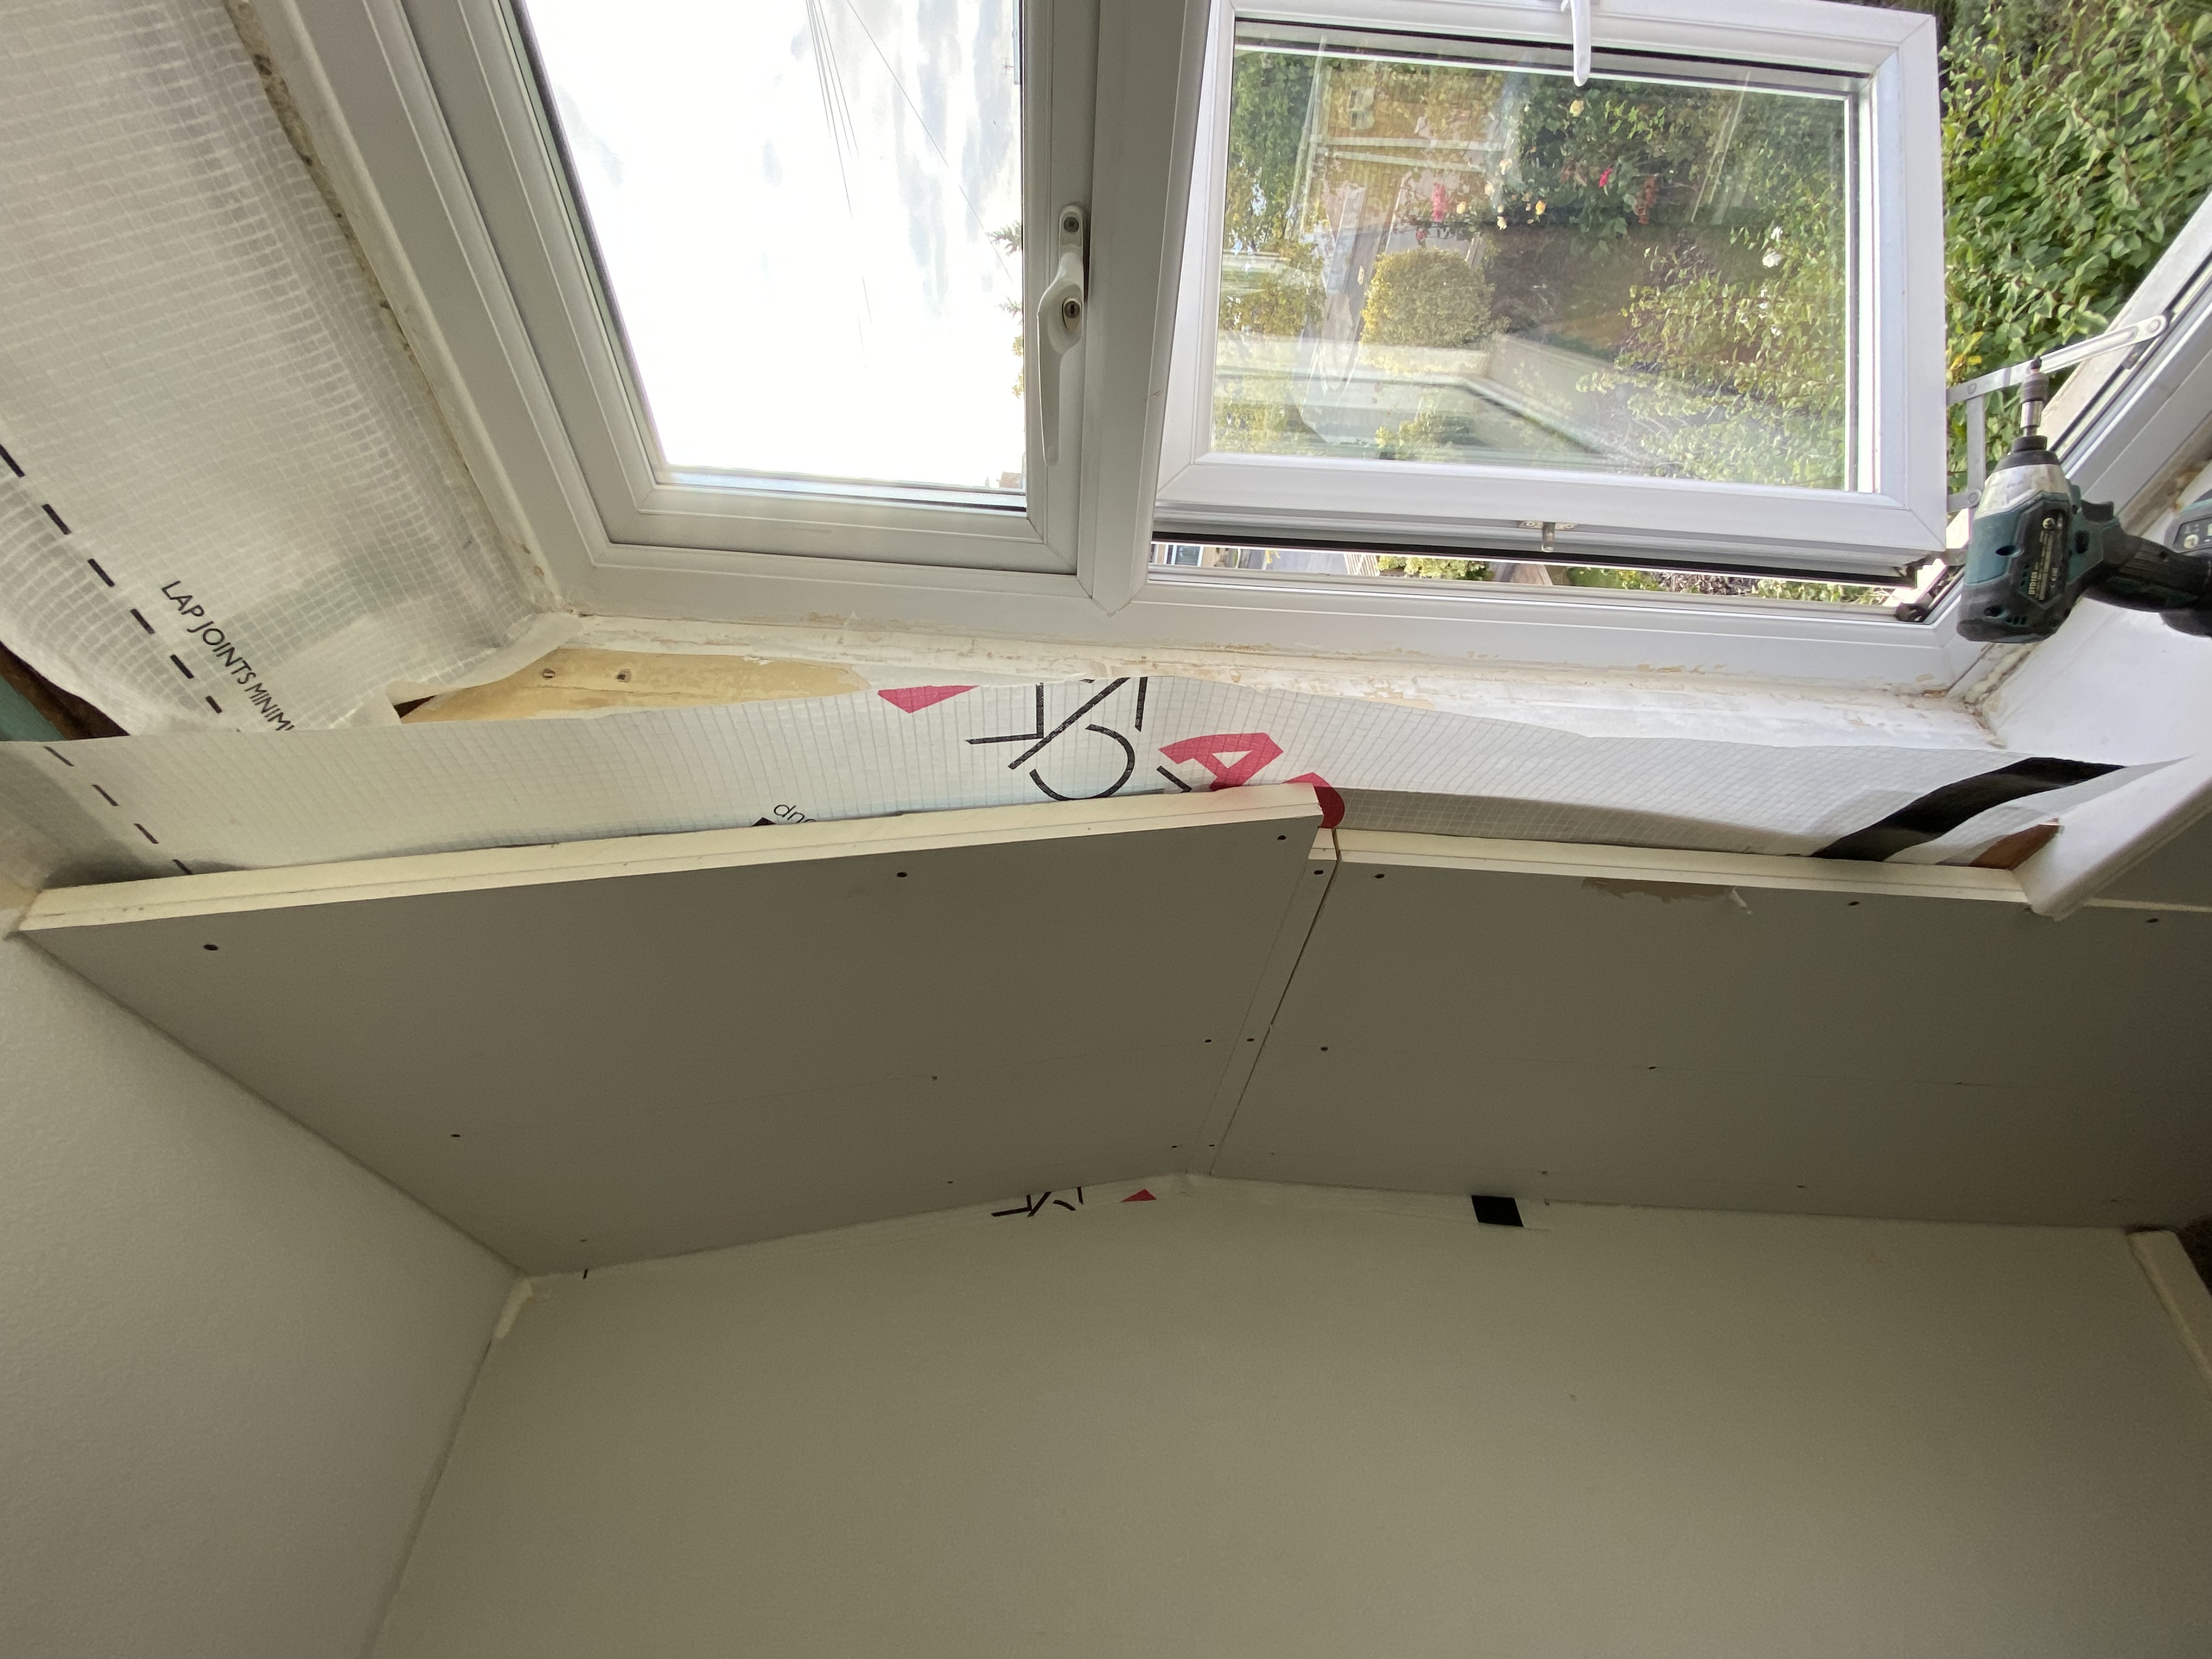
Roofing baton is added at the top of the wall to ensure there is an air gap behind the insulation board and at the bottom of the wall to prevent the insulation from pushing into the cavity. Unfortunately there were few consistent dimensions between the timbers so all boards had to be cut to measure for each space.


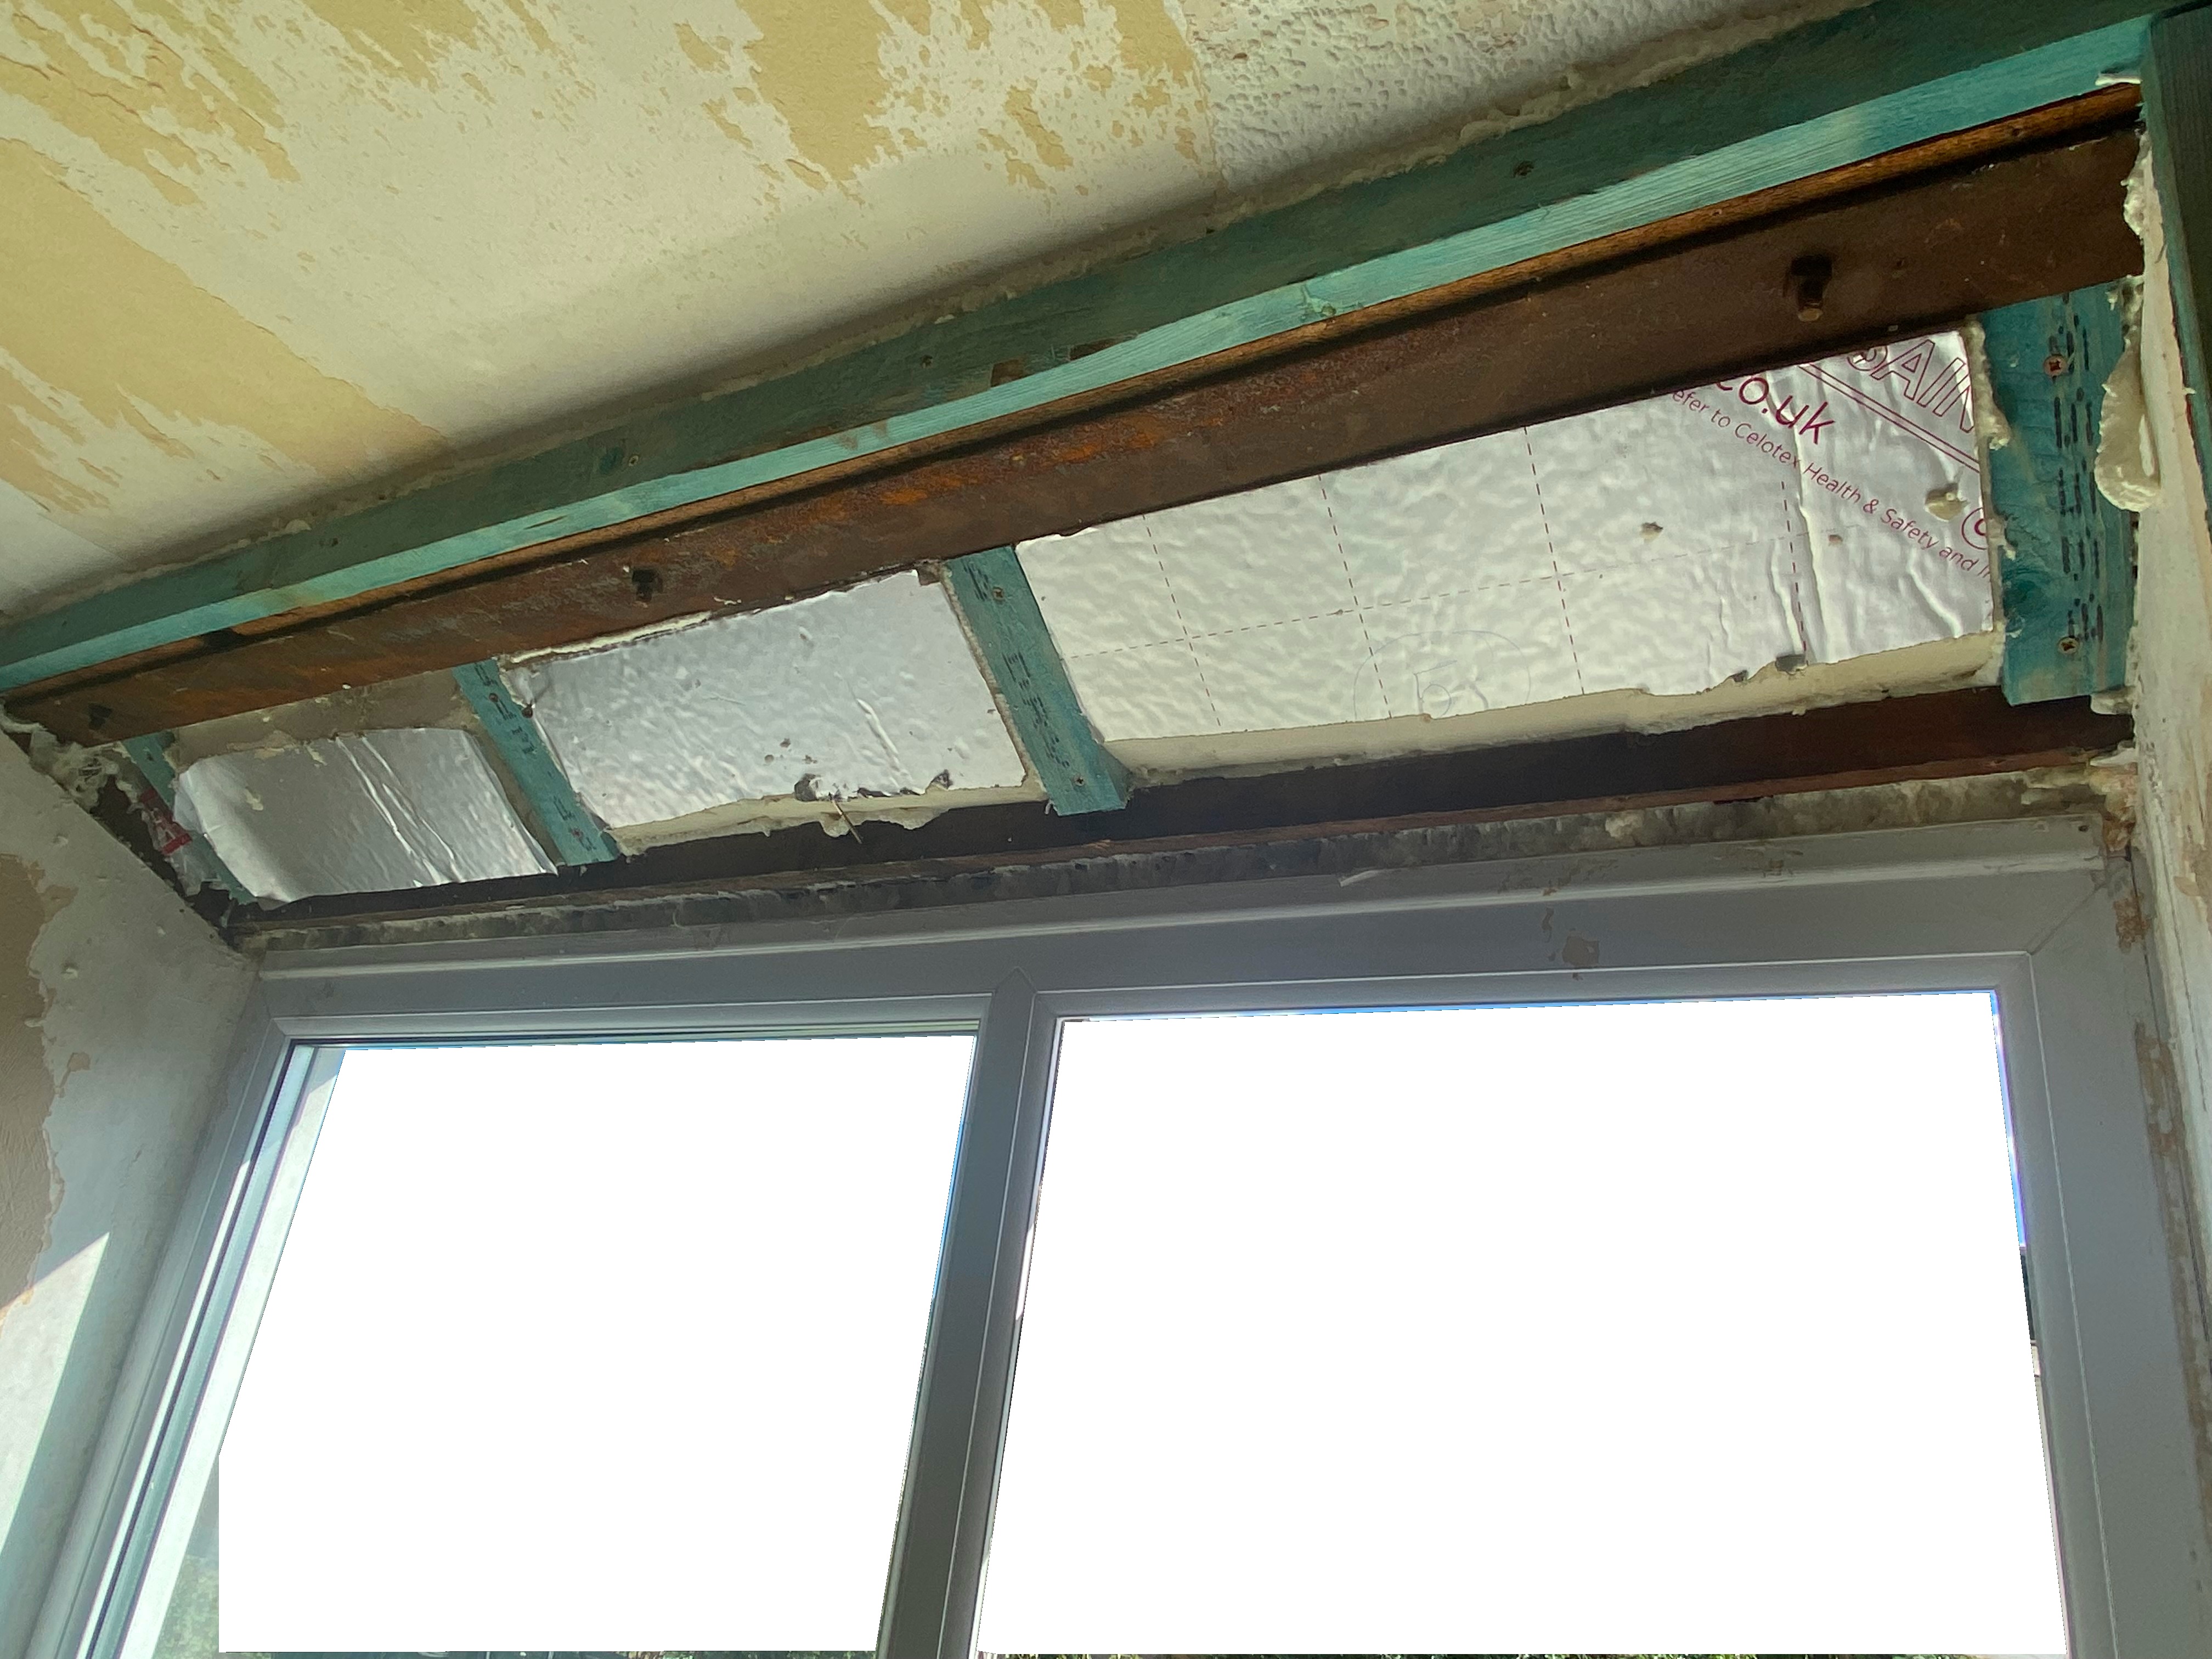
An awkward section was above the windows where the was a steel lintel as well as a void for the section of roof that protrudes over the window. Liberal amounts of expanding foam were used to fill gaps as well as possible.


Bedroom 2


Bedroom 3


Hallway


Performance
The work was completed in the summer, but the results became evident during a cold snap in December. Purely from a comfort point of view, the upstairs went from being the colder part of the house, to the warmer part. I also used a thermal imaging camera to inspect the insulation. The camera confirmed that the new insulated sections provide a consistent warm temperature as expected, with no unexpected temperature changes within these ares. Some minor issues highlighted were at the intersections with other surfaces and areas.
The two images below highlight a minor cold bridge effect from the plasterboard fixing.


The image on the left below shows a cold corner section, which was due to cold ingress on the next door room before that room had been upgraded. The image on the right below shows a piece of missing insulation (unrelated to the work!).


Finally, these two images show intersection of the new insulation with masonry walls and there being an ingress of cold air, although only a minor temperature difference of ~1-2 degrees.


Summary
Upgrading the insulation within the upper timber frame of my Cornish Unit house was relatively straightforward and a cheap way to substantially improve the thermal performance of the building. The effects of this work are significant, making the house a much more comfortable and stable environment, and a great deal more suitable environment to heat using an air-source heat pump.